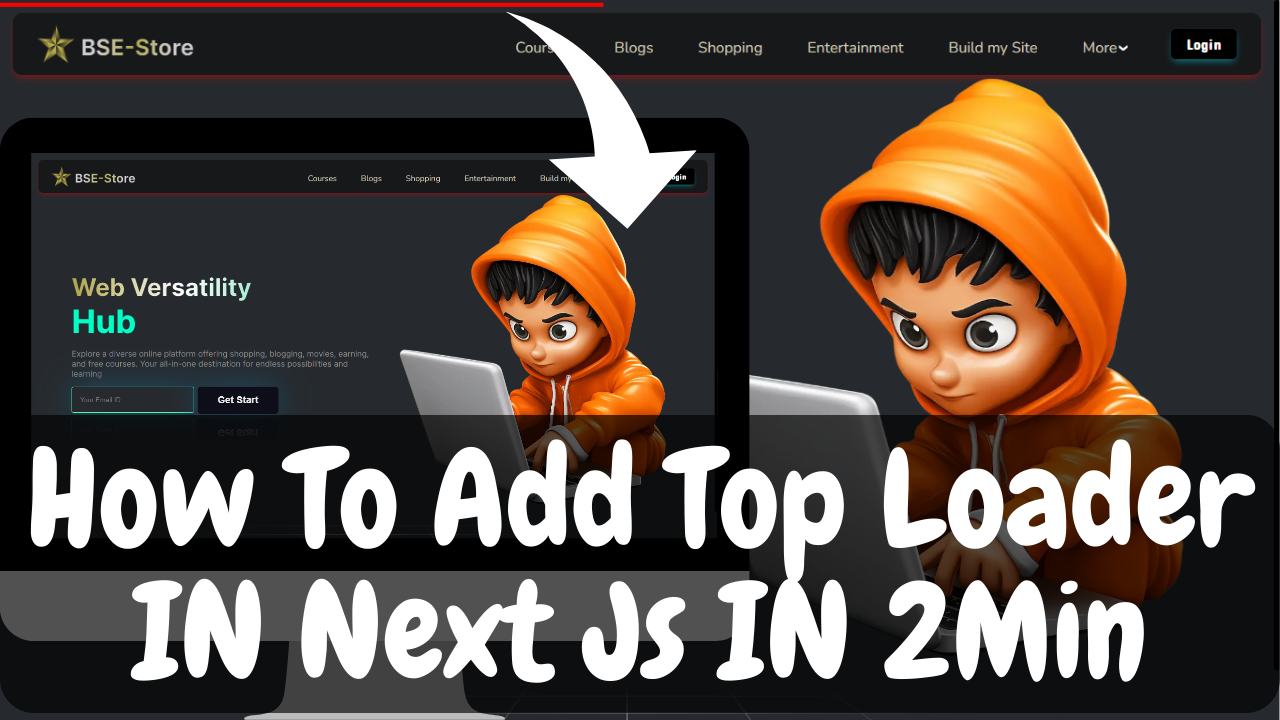
In today's fast-paced digital world, user experience is a critical factor that can make or break a website. One element that can significantly enhance user experience is a top loader or progress bar. A top loader provides visual feedback to users while your web application loads, making the waiting time feel shorter and more engaging. In this blog post, we'll walk you through the steps to add a top loader in a Next.js application to improve your website's user experience.
1. Improved User Experience: Users appreciate knowing that something is happening when they interact with a website. A top loader communicates this effectively.
2. Reduced Bounce Rate: A visually engaging loading animation can help keep users on your site while content loads, reducing bounce rates.
3. Professionalism: A top loader adds a professional touch to your website, demonstrating your commitment to a polished user experience.
Now, let's dive into the steps to add a top loader to your Next.js project.
If you haven't already, create a new Next.js project by running the following commands:
npx create-next-app@latest

cd my-nextjs-appTo create a top loader, you'll need a loading animation library. There are various libraries available, but one popular option is 'nextjs-toploader' You can install it using npm or yarn:
npm i nextjs-toploaderimport NextTopLoader from 'nextjs-toploader';This is how your final output will look like
export default function RootLayout({ children }) {
  return (
    <html lang='en'>
      <body className={inter.className}>
      <NextTopLoader color='#ff0000' showSpinner={false} />
      {children}
      </body>
    </html>
  )
}npm run devCongratulations on successfully adding a top loader to your Next.js application! It's a great step towards improving your website's user experience and making your site more engaging for your visitors. If you have any more questions or need further assistance, feel free to ask. Good luck with your Next.js project!